Recently for one of our clients, we got an opportunity to build a PDF engine that generates PDFs on demand based on a configuration file that defines the layout and its contents like charts, images and paragraphs
They are Ruby shop and wanted to build it in ruby so that their existing team can maintain it. We spiked to see if their requirements will be met by Prawn (For creating new pages) & HexaPdf (For overlaying content in existing templates). It turned out to be successful
So, we started building our PDF engine (as a ruby gem)
After a month and a half of development with 99% unit test coverage (code base of approx 700 lines) our engine is ready. But writing integration tests were tricky because the engine’s outputs were PDFs and there were no ruby libraries for it. I loved Jest snapshot testing and thought something like that is what we want here
The Approach
Extracting the text and comparing is not effective as it will not ignore the layout, text positioning, colors, charts & images. So my idea was to create an image snapshot of all the pages and compare it with the expected PDF image
As you have guessed already, There is no better library to do image manipulation than ImageMagick
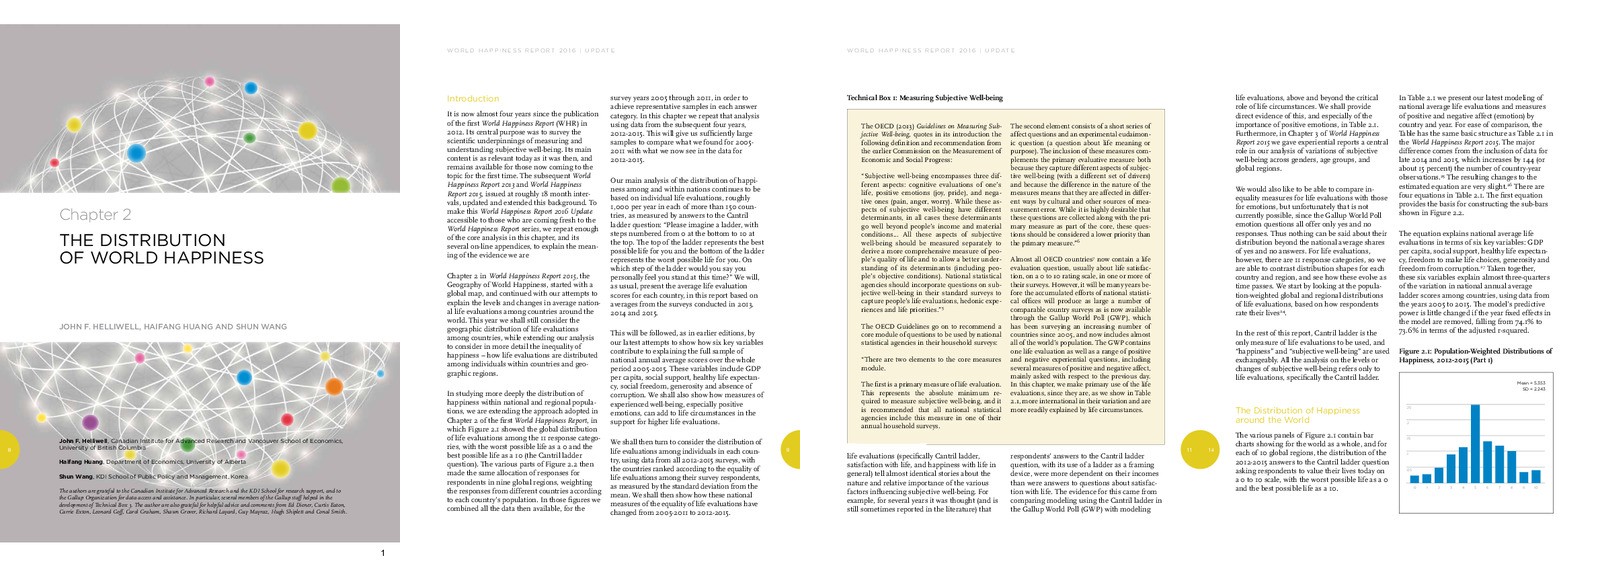
Step 1 : Create an image with all the pages in generated PDF
convert generated.pdf -alpha remove -resize 400 +append actual.jpg
- +append will append the pages next to each other horizontally
- -alpha remove will give a white background color to the generated jpg
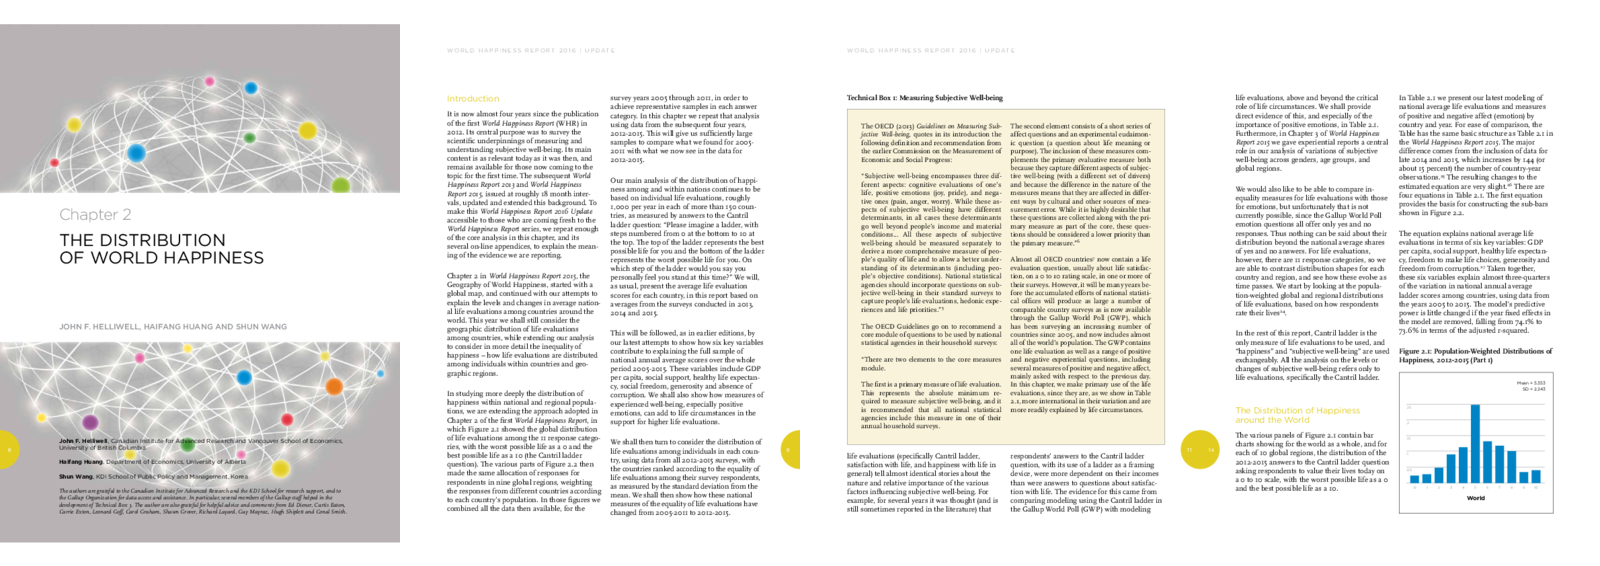
Step 2 : Do the same for the expected PDF
Step 3 : Create a diff image between the two
convert actual.jpg expected.jpg -alpha remove -compose difference -composite diff.jpg
- -composite will overlap one image over the other
- -compose difference will find the diff between the two images pixel by pixel

Step 4 : Find if there is any non-black color which indicates they differ
convert diff.jpg -define histogram:unique-colors=true -format %c histogram:info:-
- -define historgram:unique-colors will return all the unique colors
The return value of this will be a string with all the different colors separated by new line. Split it and see if the size is greater than 1 which means, there is a difference and fail the test
To easily find out which page has the difference, I joined the diff image and the expected image and saved it when a test fails
convert -border 1 -append expected.jpg diff.jpg fail.jpg
- fail.jpg is the ouput image shown below
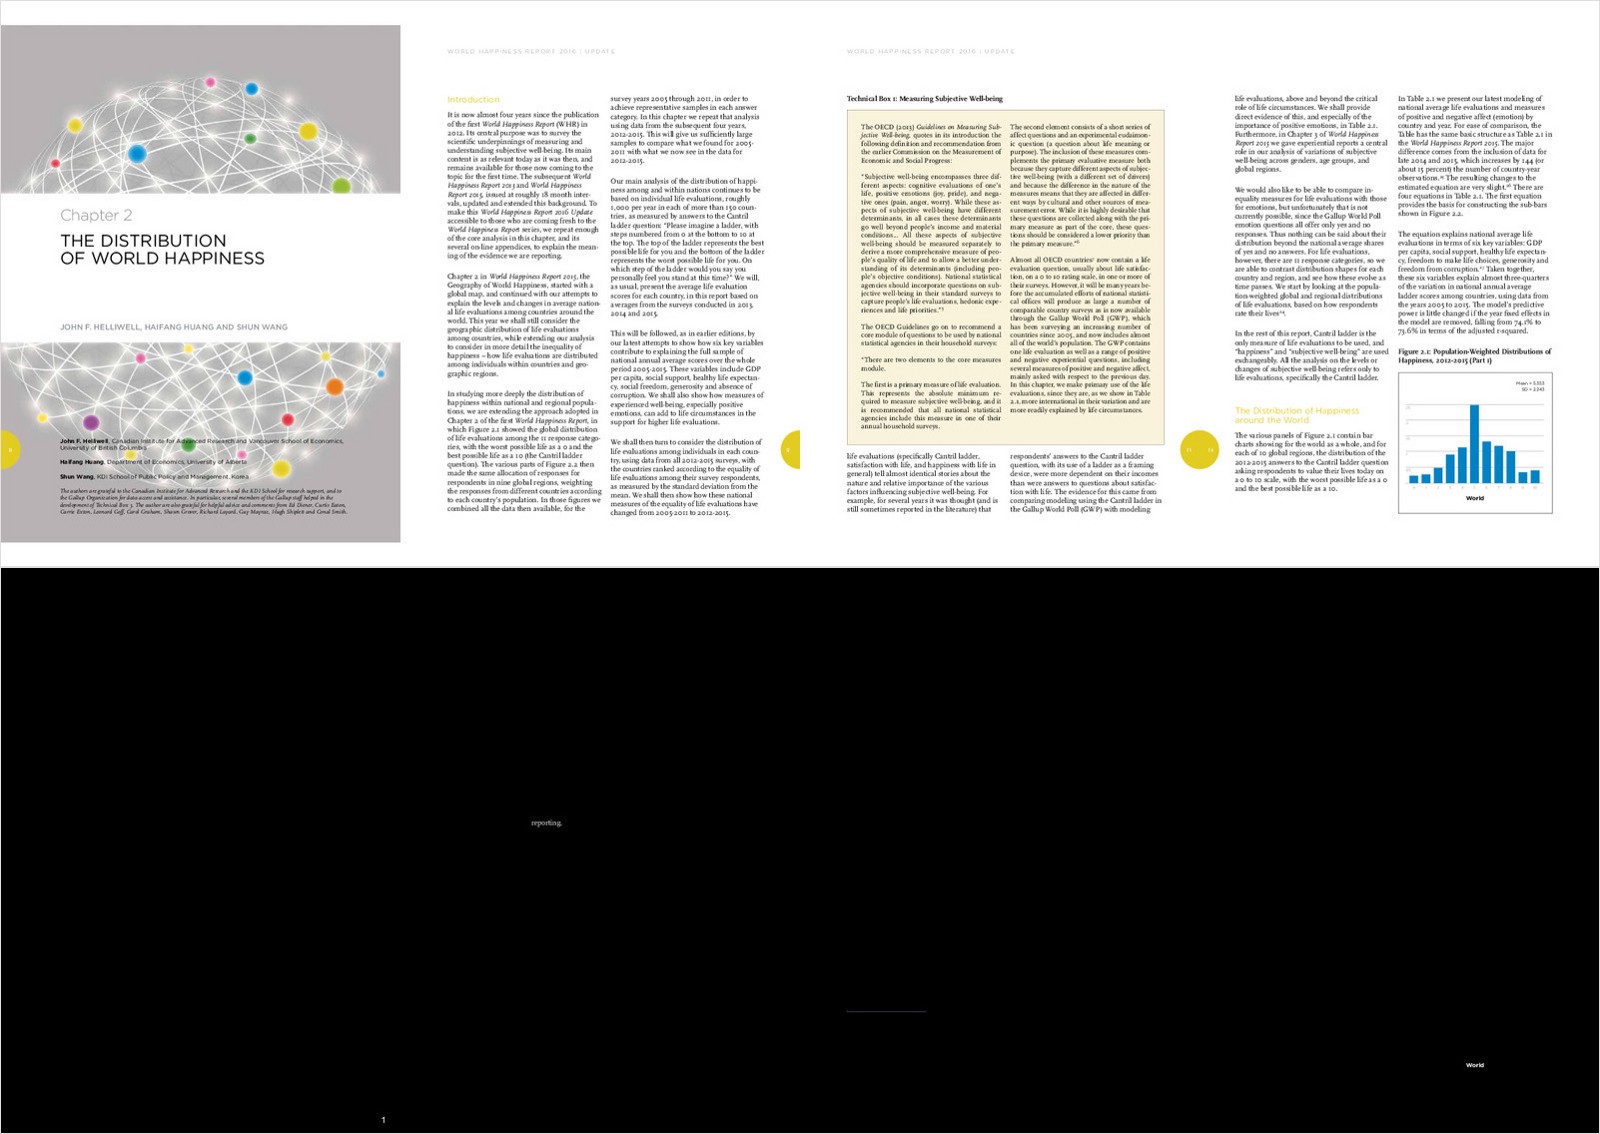
Now, it is very easy to find out which part of the page and what has changed. Like any other snapshot testing, Either fix the issue or accept the changes by updating the expected.pdf
Overall, This safety net helped us to catch the formatting and alignment issues with every code change and were able to generate PDFs with confidence